
How to Use Flipbook Themes
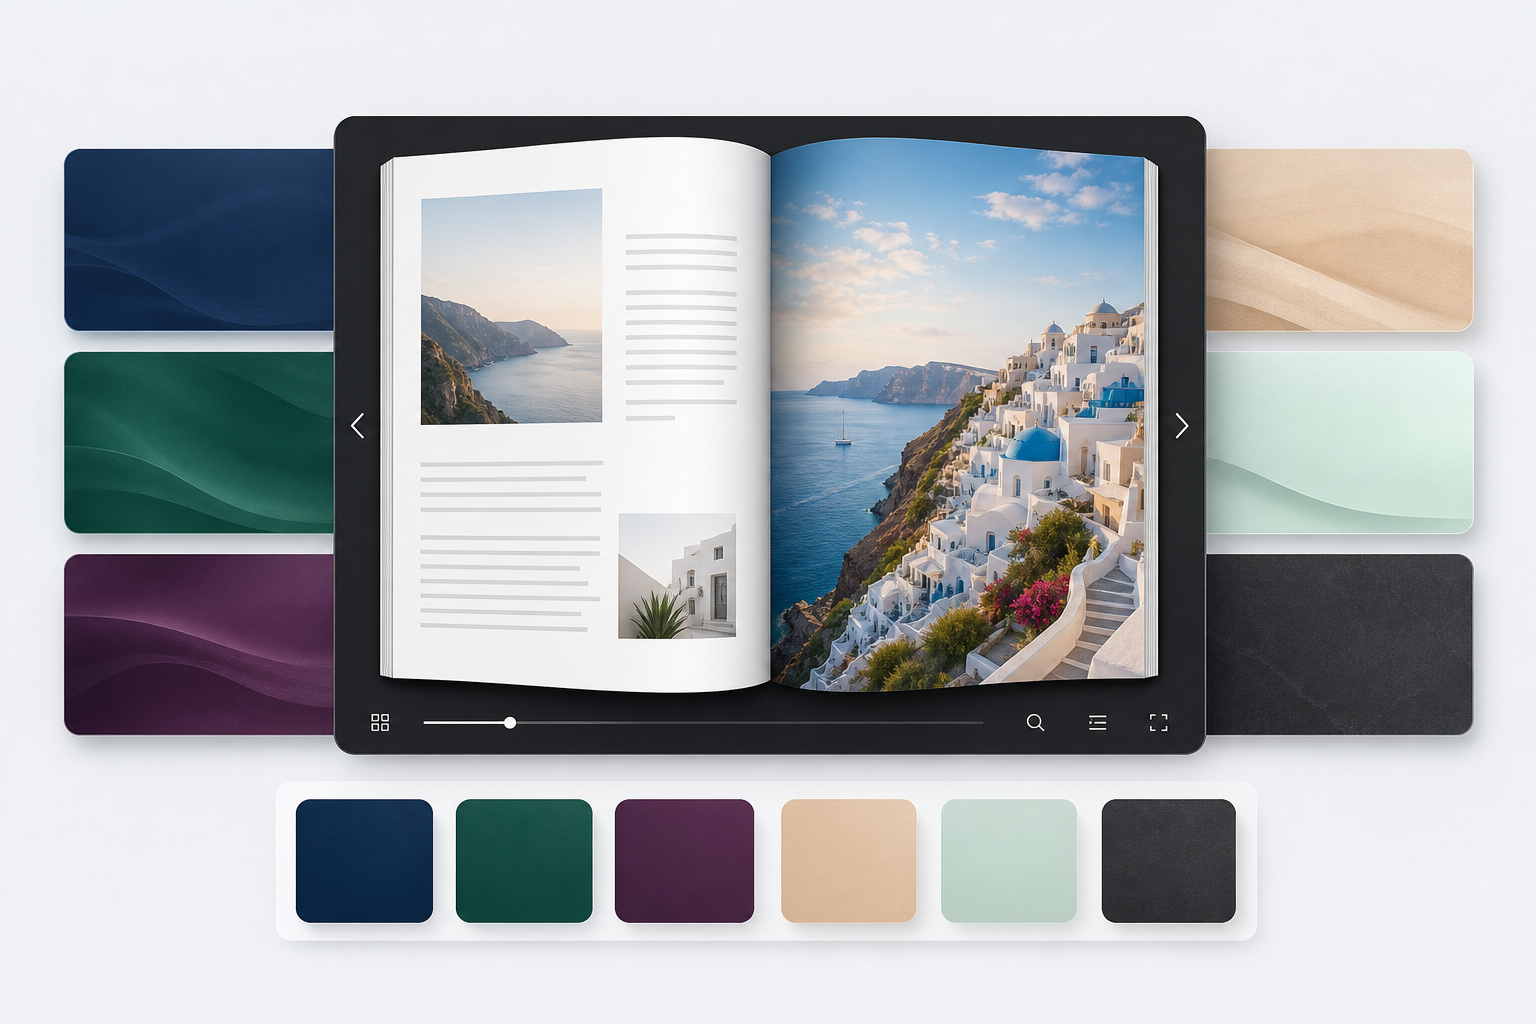
A theme is the fastest way to style your flipbook. Instead of adjusting every color and background by hand, you pick a ready-made look with one click and your flipbook instantly gets a matching control bar, navigation arrows, link highlight and background. You can then fine-tune anything you like, or save your own look as a reusable custom theme.
This guide explains where to find themes, how to apply one, how to set a default for new flipbooks, and how to create your own.
Where to Find Themes
Open any flipbook from your dashboard and go to its Settings page. Scroll down to the Themes section. Each theme is shown as a live preview card so you can see exactly how the background, control bar, arrows and link highlight will look before you apply it.
What a Theme Preview Shows
Every card is a miniature of the real flipbook viewer, so what you see is what you get. Each preview shows the four things a theme controls:
- Background – the area behind the pages. This can be a solid color or a gradient (for example the diagonal navy gradient shown above).
- Control bar – the toolbar at the bottom, including its background color and the color of its icons and page counter.
- Navigation arrows – the left/right arrows readers use to turn pages.
- Link highlight – the colored box that appears over clickable links on your pages (shown on the right page of each preview).
Applying a Theme
To apply a theme, simply click its card. The theme's colors, background and feature settings are filled into the form for you, and the card is marked as selected with a blue outline and a checkmark.
Applying a theme does not save anything on its own — it only fills in the settings. Review the result, make any tweaks you want in the Colors and Background sections below, and then click Save settings to keep it. The currently selected theme is always shown first in the grid (right after the "Save current settings" card) so you can see at a glance which look is active.
Setting a Default Theme for New Flipbooks
If you want every new flipbook you create to start with the same look, set a theme as your default. Hover over a theme card and click the star icon in the top-right corner. The card then shows a green Default badge.
From that point on, every new flipbook you upload will automatically use that theme's colors and background. This is the easiest way to keep all of your flipbooks consistent with your brand. Click the star again at any time to clear the default and go back to the standard Classic look.
Saving Your Own Custom Theme
Once you have a flipbook styled exactly the way you want — your brand colors, your preferred background, your favorite feature toggles — you can save that look as a reusable theme.
- Adjust the colors, background and features until you are happy with them.
- In the Themes section, click the blue Save current settings as a new theme card.
- Give your theme a name and confirm.
Your custom theme then appears in the grid with a Custom badge, ready to apply to any other flipbook with a single click. You can set a custom theme as your default just like the built-in ones, and remove it later using the trash icon on its card.
What Themes Do and Don't Change
Themes are designed to restyle the look of your flipbook without ever touching your content. It helps to know exactly what they affect.
A theme changes
- The control bar, icon, arrow, link-highlight and tooltip colors
- The background (solid color or gradient)
- Feature toggles such as fullscreen, thumbnails, zoom and the control bar
A theme never touches
- Your links, videos or the PDF pages themselves
- The flipbook title, image quality or start page
- Your Google Analytics ID
Because of this, you can safely try different themes on an existing flipbook without any risk to your actual content — only the styling changes.
Tips for Great-Looking Flipbooks
- Pick a theme whose background complements your cover and pages. Light, airy themes suit bright catalogs; darker themes make colorful photography pop.
- Make sure your link-highlight color stands out against your pages so readers can spot clickable areas.
- Set your brand theme as the default so every new flipbook is on-brand from the start.
- If none of the built-in themes match your brand exactly, apply the closest one, tweak the colors, and save it as your own custom theme.
Frequently Asked Questions
That's all there is to it. Themes let you go from a plain flipbook to a polished, on-brand publication in seconds — and once you've saved your own, every future flipbook can match it with a single click.
Featured Articles
- Uploading a Flipbook to Your Website
- Flip Book Embed Code Generator
- How to Embed Flipbook on WordPress
- Benefits of Using a Flipbook
Businesses use Instant Flipbook